
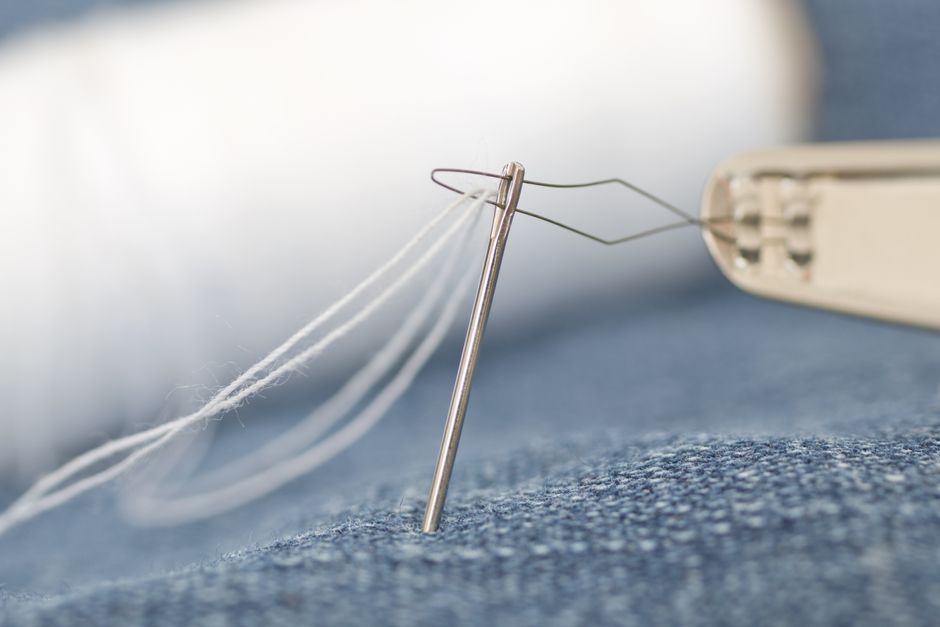
In an era dominated by fast fashion, the act of repairing a garment has evolved from a chore into a defiant, creative statement. The art of visible mending transforms the traditional approach to clothing maintenance by celebrating repairs rather than concealing them. Instead of trying to hide a tear or a frayed cuff with matching thread, this practice uses vibrant colors, contrasting textures, and intricate needlework to turn flaws into features. By learning how to mend your own clothes, you not only extend the lifespan of your favorite pieces but also cultivate a more sustainable and personal relationship with your wardrobe.
Understanding the Philosophy of Visible Mending

At its core, visible mending is about shifting our perception of imperfection. Historically, mending was a necessity performed in private, with the goal of making a garment look as if it had never been damaged. Today, visible mending for beginners offers a liberating alternative. By using noticeable threads, reclaimed fabrics, and decorative techniques, you can highlight the history of the garment. Each stitch tells a story of survival, proving that a pair of jeans or a wool sweater is not disposable just because it has developed a hole.
This practice is both a functional tool for longevity and a form of wearable art. Whether you are interested in visible mending embroidery hole repair or simple sashiko-inspired darning, the process allows you to customize your style. It is an accessible skill; even if you have never picked up a needle before, the fundamental techniques are intuitive and forgiving.
Getting Started: Essential Tools and Techniques
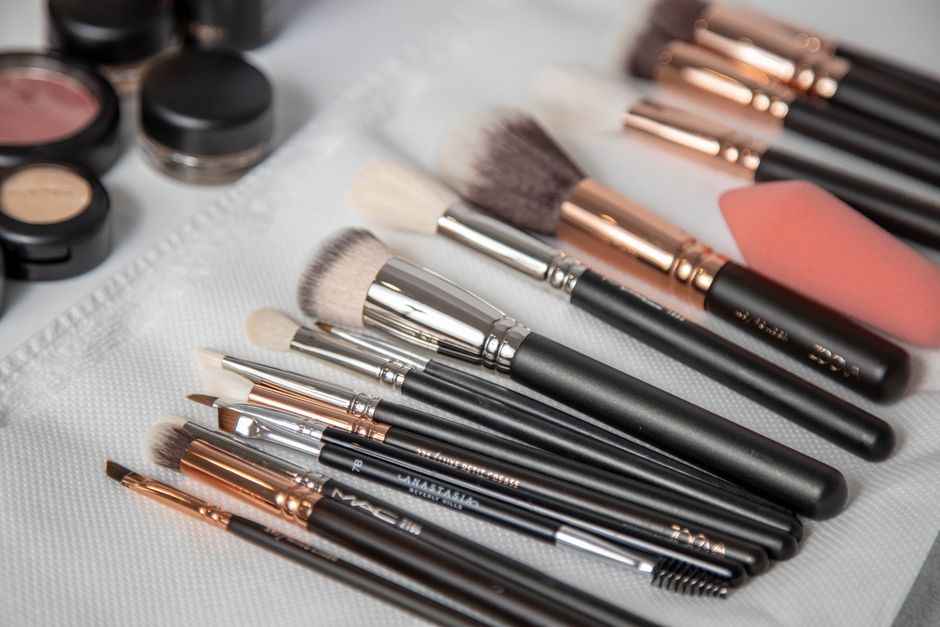
You do not need an expensive sewing machine or a room full of notions to begin your journey. The beauty of this craft lies in its simplicity. To start your collection of visible mending ideas, you should gather a few basic supplies:
- Needles: Keep a variety on hand, including an embroidery needle with a larger eye to accommodate thicker, decorative threads.
- Thread: Pearl cotton, embroidery floss, or even sturdy sashiko thread work beautifully. Choose colors that pop against your fabric.
- Fabric Scraps: Small pieces of linen, denim, or patterned cotton are perfect for patching holes.
- Scissors: A sharp pair of fabric shears is essential for clean cuts.
- Thimble: Useful for pushing the needle through thicker fabrics like denim.
Basic Steps for Mending
The process of mending typically follows a straightforward path. First, assess the damage. Is it a small snag or a gaping hole? For larger holes, you will likely need a patch. Place the patch behind or over the hole, ensuring it covers the area with enough room to secure the edges. Use a basting stitch to hold the patch in place, then transition to decorative stitches like a running stitch, cross-stitch, or blanket stitch to permanently secure it. If you are dealing with a thinning area rather than a complete hole, darning—weaving thread back and forth across the warp and weft—is an excellent way to reinforce the fabric.
Exploring Creative Visible Mending Patterns
Once you have mastered the basics, you can begin experimenting with visible mending patterns to elevate your garments. Geometric patterns, such as the classic sashiko grid, provide a structured and clean look that works perfectly on denim. For a more organic aesthetic, consider floral motifs or abstract, free-form embroidery that follows the shape of the tear. Many enthusiasts find inspiration in the 2020 Visible Mending book by Arounna Khounnoraj, titled Visible Mending: A Modern Guide to Darning, Stitching and Patching the Clothes You Love, which serves as an essential resource for those looking to expand their repertoire of techniques.
Common Challenges and Solutions
When you start visible mending, it is natural to encounter a few hurdles. Beginners often struggle with puckering fabric or uneven tension. To avoid this, always ensure your fabric is laid flat and held taut in an embroidery hoop if necessary. Do not pull your thread too tightly, as this can cause the surrounding fabric to bunch. Remember that the charm of this art form is its handmade quality—perfect uniformity is not the goal, and slight variations in stitch length often add to the character of the repair.
Frequently Asked Questions
What is the 3-3-3 rule for clothes?
The 3-3-3 rule is a capsule wardrobe concept often used to simplify dressing and encourage longevity. It suggests that you can create a versatile wardrobe by selecting three tops, three bottoms, and three pairs of shoes that can be mixed and matched to create numerous outfits. This approach encourages you to invest in high-quality, durable garments that are worth repairing when they eventually show signs of wear, rather than buying large quantities of disposable items.
What are the basic steps for visible mending?
The basic steps include: 1. Cleaning the garment to ensure the fabric is stable. 2. Assessing the damage to determine if you need a patch or just reinforcement. 3. Selecting your materials, such as contrasting thread or a decorative fabric scrap. 4. Securing the patch or area using a basting stitch. 5. Applying your chosen decorative stitching technique (like running stitch or darning) to permanently mend the area. 6. Trimming any excess thread and pressing the area with an iron to finish.
What is the best book on clothing alterations?
While there are many resources available, Visible Mending: A Modern Guide to Darning, Stitching and Patching the Clothes You Love by Arounna Khounnoraj is widely considered the gold standard for beginners. It provides clear, step-by-step instructions that demystify the process and encourage a creative, artistic approach to fixing damaged textiles.
What are common visible mending mistakes?
Common mistakes include using thread that is too weak for the weight of the fabric, which may lead to the mend breaking quickly. Another frequent error is failing to secure the edges of the patch properly, which can cause fraying. Beginners also tend to over-complicate their first projects; it is usually better to start with a simple running stitch on a flat area before attempting complex embroidery on curved seams or delicate knitwear.
Conclusion
Embracing the art of visible mending is one of the most impactful ways to participate in a more sustainable fashion cycle. By choosing to mend your clothes instead of discarding them, you are making a conscious decision to value craftsmanship and reduce waste. Whether you are performing a simple visible mending embroidery hole repair or crafting elaborate patterns, you are contributing to a growing movement that celebrates the longevity of our garments. The next time you find a tear in your favorite jeans or a moth hole in a beloved sweater, do not reach for the bin. Reach for your needle and thread, and let your repair become a badge of honor that keeps your wardrobe alive for years to come.